You’ve probably seen those captivating videos where the action fluidly shifts from slow-motion to high-speed and back again. This isn’t just a simple speed change; it’s a professional technique called “speed ramping,” and it’s one of the best ways to add rhythm and energy to your videos. While many apps offer basic speed controls, few make it as intuitive and powerful as VN Video Editor.
This guide will show you exactly **how to use VN Editor’s Speed Ramping** feature, also known as the “Curve” tool. We’ll break down the process step-by-step, helping you move beyond simple fast and slow motion to create dynamic, cinematic effects that will make your videos stand out.
What is Speed Ramping and Why Use It?
Speed ramping is the gradual increase or decrease of video speed over time. Instead of abruptly changing from normal speed (1x) to slow motion (0.5x), a speed ramp creates a smooth transition between the two. It’s used to:
- Add Emphasis: Slow down the video at a key moment to draw the viewer’s attention.
- Create Dynamic Intros: Start slow and ramp up to normal speed for a powerful opening shot.
- Match Video to Music: Adjust the speed of your clips to perfectly match the beat and rhythm of your soundtrack.
- Create Smooth Montages: Seamlessly transition between different clips and actions.
VN Editor’s “Curve” tool gives you visual control over this process, making it incredibly powerful. You can learn more about its other professional tools in our complete VN Video Editor review.
How to Use Speed Ramping in VN Editor: A Step-by-Step Guide
Let’s get started. The process is the same whether you want to speed up (faster than 1x) or slow down (slower than 1x) your footage.
Step 1: Select Your Clip and Open the Speed Tool
First, import the video clip you want to edit into your VN timeline. Tap on the clip to select it (it will be outlined in yellow). From the main toolbar at the bottom, tap on the **”Speed”** icon.
Step 2: Choose the “Curve” Option
Inside the Speed menu, you’ll see two options: “Regular” and “Curve.”
- Regular: This is for applying one constant speed change to the entire clip.
- Curve: This is the speed ramping tool. Tap on **”Curve”** to open the graph editor.
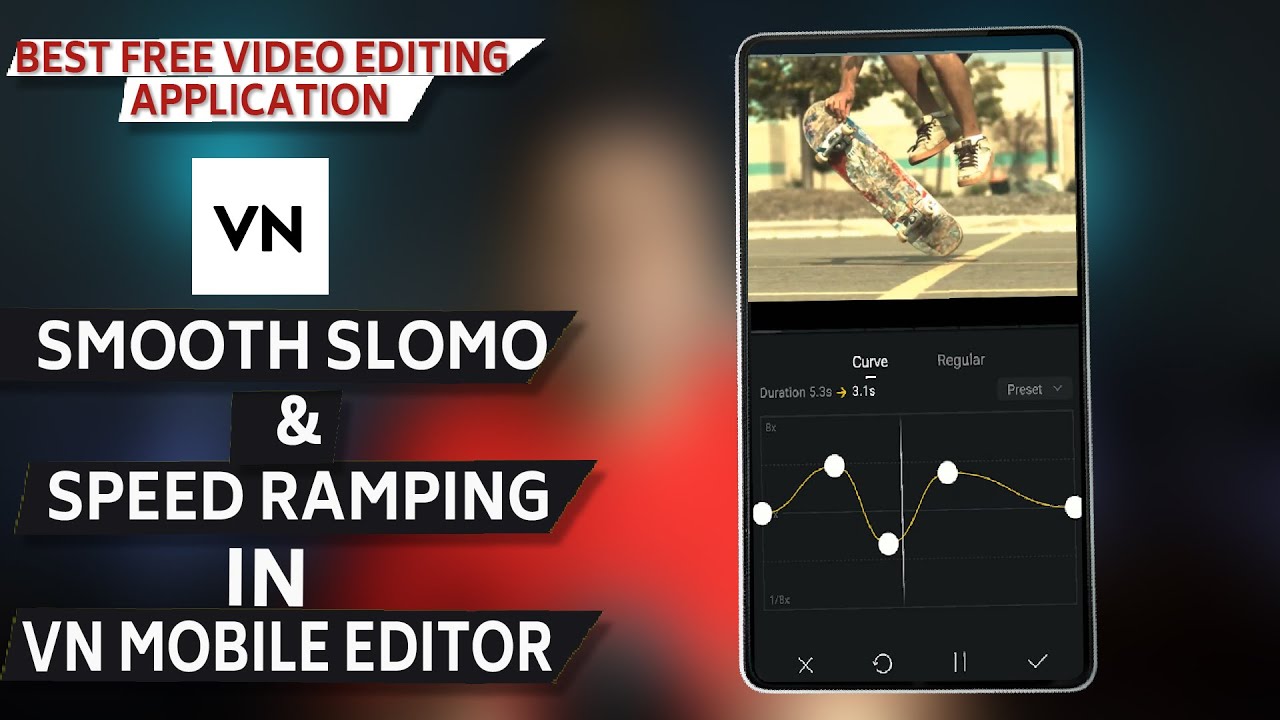
Step 3: Understand the Speed Curve Graph
You will now see a graph.
- The **horizontal line** represents the original, normal speed (1x) of your video.
- The **vertical axis** represents the playback speed. Pushing a point **up** makes the video faster at that moment. Pulling a point **down** makes it slower.
- The **white dots** on the line are “keyframes” or control points. You can move these points to change the speed.
Step 4: Choose a Preset or Create a Custom Curve
VN Editor gives you two ways to create a speed ramp:
- Use a Preset (The Easy Way): At the bottom of the Curve menu, you’ll see several presets like “Montage,” “Hero,” and “Bullet Time.” Tapping on one of these will automatically apply a pre-made speed ramp to your clip. This is a fantastic way to see how different ramps affect your footage.
- Create a Custom Curve (The Pro Way):
- To add a new control point, long-press anywhere on the line.
- To remove a point, drag it straight up or down off the graph.
- Now, start shaping your curve. For example, to create an effect where the video starts slow, speeds up in the middle, and then slows down again, you would drag the start and end points down (below the 1x line) and push a point in the middle up (above the 1x line).
Step 5: Fine-Tune and Apply
As you adjust the curve, you can play the video in the preview window to see the effect in real-time. This allows for precise timing to match a specific action or musical beat.
Once you are happy with your speed ramp, tap the checkmark in the bottom-right corner to apply the effect to your clip. You will see your clip on the timeline now has a “Curve” icon, indicating the effect has been applied.
Final Tips for Better Speed Ramps
- Use High Frame Rate Footage: To get the smoothest slow-motion, it’s best to film your video at a higher frame rate (like 60fps or 120fps) if your phone supports it.
- Combine with Sound Design: A great speed ramp is even better when paired with sound effects. Add a “whoosh” sound effect when the speed increases to really sell the effect.
- Keep it Purposeful: Don’t use speed ramping just for the sake of it. Use it to enhance the story or feeling of your video.
Mastering **how to use VN Editor’s Speed Ramping** is a key step in elevating your mobile videos from amateur to professional. It’s a powerful storytelling tool that, once learned, you’ll find yourself using in all your future projects.