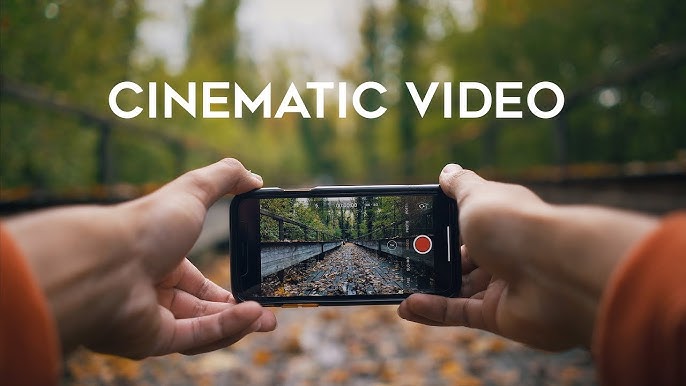
You see them everywhere: stunning travel videos, moody short films, and professional-looking product shots, all claiming to be “shot on a phone.” They have a special quality—a richness and intention that feels like a real movie. This “cinematic” quality isn’t just a filter; it’s a result of deliberate choices made before, during, and after filming.
The great news is that you already have the most important tool in your pocket. This guide will teach you **how to make your videos look cinematic on a phone**. We’ll skip the expensive gear and focus on the fundamental techniques of lighting, framing, movement, and color that will instantly elevate your work from a simple recording to a compelling story.

What Does “Cinematic” Actually Mean?
Before we start, let’s define our goal. A “cinematic look” is more than just adding black bars to your video. It’s about intentional storytelling. It generally means the image has:
- A specific mood and color palette.
- Smooth, deliberate camera movement.
- Thoughtful composition and framing.
- A shallow depth of field (blurry background).
You can achieve all of these things with the phone you’re holding right now.
5 Steps to Cinematic Footage (Before You Edit)
The most important work happens during filming. No amount of editing can truly fix poorly shot footage. Focus on these five steps while you’re recording.
1. Shoot at 24 FPS (The Film Standard)
This is the single most important technical setting. For over a century, motion pictures have been filmed at 24 frames per second (FPS). Our eyes are conditioned to associate this frame rate with the “feel” of a movie. Most phones default to 30 or 60 FPS, which looks smooth but “video-like.” Go into your phone’s camera settings and change the video recording mode to 4K at 24fps. This one change will instantly make your footage feel more cinematic.
2. Master Composition & The Rule of Thirds
Don’t just point and shoot. Think about your frame. The easiest way to improve your composition is the “Rule of Thirds.” Imagine your screen is divided by two horizontal and two vertical lines, creating a 3×3 grid. Instead of placing your subject dead center, place them along one of these lines or at one of the intersection points. This simple trick creates a more balanced and visually interesting image. Most phones let you enable a grid overlay in the camera settings to help with this.
3. Find Soft Light (Use the Golden Hour)
Harsh, direct sunlight (like at midday) creates unflattering shadows. The best light for a cinematic look is soft, diffused light. You can find this on an overcast day, in the shade, or during the “golden hour”—the first hour after sunrise and the last hour before sunset. The light during these times is soft, warm, and naturally beautiful.
4. Create Smooth, Intentional Movement
Shaky, jerky camera movements scream “amateur.” Cinematic movement is smooth and deliberate.
- Go Slow: Whether you’re panning across a landscape or revealing a subject, do it slowly and smoothly.
- Hold Your Shots: Don’t be afraid to keep the camera still and let the action happen within the frame. A steady tripod shot is often more powerful than a shaky handheld one.
- Use a “Gimbal”: If you are serious about smooth movement, investing in a small mobile gimbal (like a DJI Osmo Mobile) is the single best piece of gear you can buy.
5. Control Your Focus & Create Depth
A blurry background (shallow depth of field) is a key cinematic trait because it isolates your subject. Many high-end phones now have a “Cinematic Mode” or “Portrait Video” mode that artificially creates this effect. Use it! If your phone doesn’t have this, you can create depth manually by placing objects in the foreground and background and tapping to focus on your main subject.
The Final Polish: Cinematic Color Grading
Once you have your well-shot footage, the final step is color grading. This is where you adjust the colors to create a specific mood. This is different from “color correction,” which is just fixing a bad white balance.
You can use apps like VN Video Editor or CapCut to manually adjust contrast, shadows, and saturation. But the fastest way to get a professional look is by using LUTs (Look-Up Tables). A LUT is like a professional color preset for your video. You can instantly apply a “Teal & Orange” cinema look or a “Faded Film” look with a single tap.
To learn how, check out our complete beginner’s guide on **what a LUT is and how to use it**.
By combining these shooting techniques with thoughtful color grading, you can absolutely **make your videos look cinematic on a phone**. It’s not about the gear; it’s about the knowledge and the intention you put into every shot.
