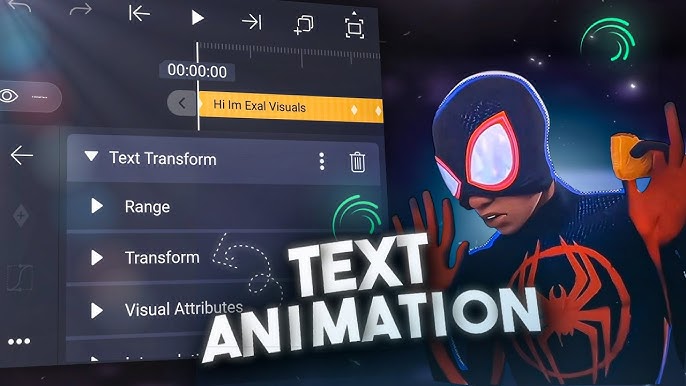
You’ve seen them in professional motion graphics and kinetic typography videos: text that doesn’t just sit on the screen, but moves, bounces, and fades with purpose and style. This isn’t a simple pre-made effect; it’s the result of precise keyframe animation. While many apps offer basic text effects, Alight Motion gives you the desktop-grade control to create truly custom animations.
This guide will show you **how to animate text in Alight Motion**, breaking down the fundamental concepts of keyframing for a beginner. We’ll walk you through creating a classic “fade and scale up” animation from scratch. Mastering this single technique will give you the foundational knowledge to create any text animation you can imagine.

The Key to All Animation: Understanding Keyframes
Before we start, let’s understand the core concept. A **keyframe** is like a marker or a snapshot in time. You place keyframes on the timeline to tell the app: “At this exact moment, I want this layer to have *these specific properties* (like position, size, or opacity).”
When you set two different keyframes, Alight Motion automatically creates a smooth animation *between* those two states. This is the foundation of all professional animation. Our full Alight Motion Review covers more of its professional features.
How to Animate Text in Alight Motion
Creating a Fade-in and Scale-up Text Animation
Step 1: Create Your Text Layer

Start a new project and tap the green ‘+’ button at the bottom. Select “Text” and type in your desired word or phrase. Customize the font, size, and color to your liking. When you’re done, tap the checkmark to add it to your timeline as a new layer.
Step 2: Access the Animation Tools

With your text layer selected on the timeline, tap the “Move & Transform” button in the bottom menu. This will open up the main animation controls for Position, Scale (size), Rotation, and more.
Step 3: Set the End Position (First Keyframe)

Move the playhead on the timeline to where you want the animation to *finish* (e.g., at the 1-second mark). We will animate backward, which is often easier for beginners. In the “Scale” tab (the third icon), tap the keyframe icon (it looks like a diamond with a plus) to set your first keyframe. This “locks in” the final size of your text at this moment.
Step 4: Set the Start Position (Second Keyframe)

Now, move the playhead to the beginning of your text layer (the 0-second mark). In the “Scale” tab, drag the controls to make your text slightly larger (e.g., 120% of its original size). This will automatically create a second keyframe. Now, go to the “Opacity & Blending” menu, and set the opacity to 0%. This will also automatically set a keyframe for opacity. Alight Motion will now animate the text from large and invisible to its normal size and fully visible over 1 second.
Step 5: Smooth the Animation with Easing Curves

The animation is smooth, but it can feel robotic. To make it more professional, we’ll add “easing.” Between your two keyframes, tap the “Graph” icon. You will see a straight line. Choose one of the preset curves (like the “ease-out” curve, which starts fast and slows down). This will make the animation feel much more natural and less linear. Apply the same curve to both your scale and opacity animations.
Final Verdict: Your First Step to Pro Animation
Congratulations! By following this guide on **how to animate text in Alight Motion**, you have learned the single most important skill in motion graphics: keyframing. The “fade and scale up” effect is a building block you can use and modify for countless other projects.
The key is to experiment. Try applying keyframes to position, rotation, or color. The principles are exactly the same. With practice, you’ll be able to create any complex text animation you can dream up.
Frequently Asked Questions
Can I use pre-made text effects in Alight Motion?
Yes, Alight Motion’s “Effects” library contains hundreds of pre-built effects, including many text animations. While these are great for speed, learning manual keyframing gives you complete creative control.
How do I save an animation I created?
You can save your animated layer as a reusable “Element.” Simply select the layer(s) you want to save, and tap the “Group and Mask” icon at the top. Once grouped, you can save this entire group to your Elements library to use in future projects.
