If you spend any time on TikTok or Instagram Reels, you’ve seen them: perfectly timed, dynamic captions that pop onto the screen with every word. This style has become essential for creating engaging, viral videos. But typing them out manually is a nightmare. This is where you can learn **how to use CapCut Auto Captions**, a revolutionary AI feature that does all the hard work for you.
This feature is a complete game-changer, and it’s one of the biggest reasons for CapCut’s incredible popularity. In this step-by-step guide, we’ll show you not only how to generate these captions with a single tap but also how to style them to make your videos stand out and capture your audience’s attention.
Why Auto Captions are a Must-Have for Viral Videos
Before we dive into the “how,” let’s quickly cover the “why.” Adding captions to your videos dramatically increases engagement. Here’s why it’s so effective:
- Most Videos are Watched on Mute: A huge number of users scroll through their feeds with the sound off. Captions ensure your message gets across even without audio.
- It Improves Accessibility: It makes your content accessible to viewers who are deaf or hard of hearing.
- It Boosts Watch Time: Reading along keeps viewers hooked to your video longer, which social media algorithms love.
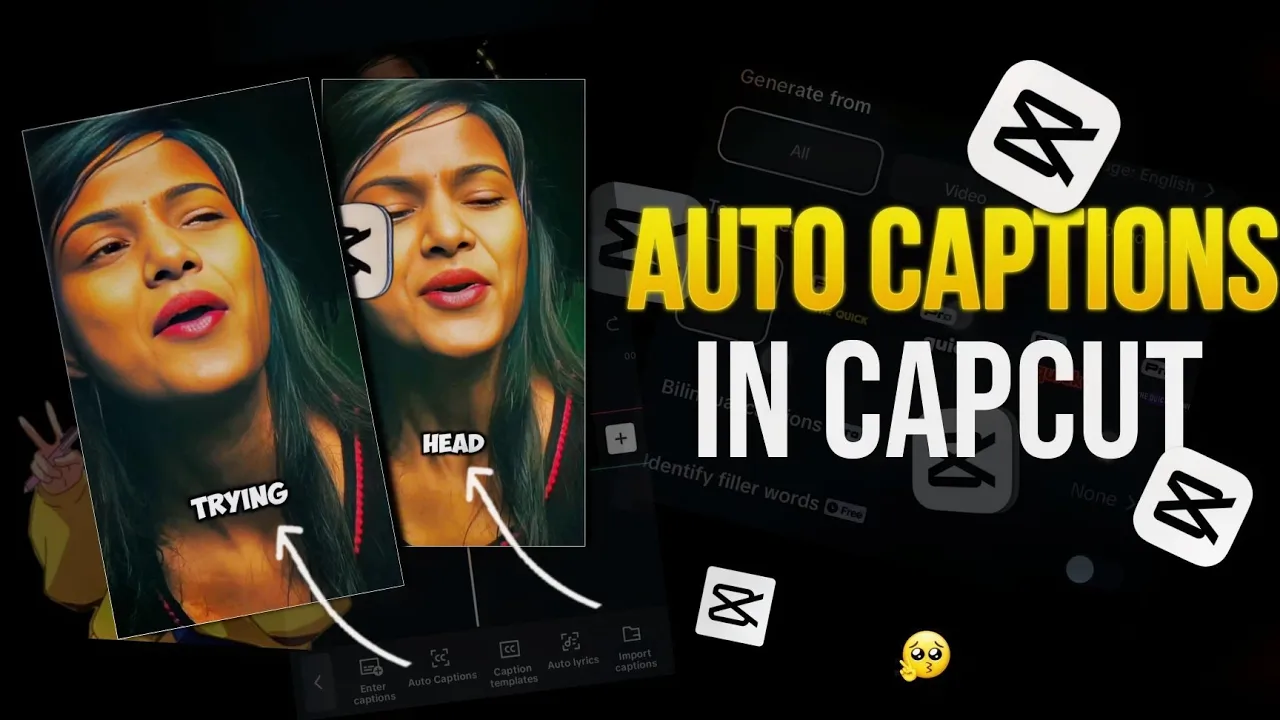
How to Use CapCut Auto Captions: A Step-by-Step Guide
Generating subtitles in CapCut is incredibly simple. The real magic comes from customizing them to match your unique brand and style.
Step 1: Create a Project and Add Your Video
First things first, open CapCut and start a new project. Select the video clip that contains the speech or audio you want to caption. Make sure your clip is already edited for length and content, as this is one of the final steps in the editing process.
Step 2: Generate Captions with One Tap
- With your video clip on the timeline, look at the main toolbar at the bottom of the screen. Tap on the **”Text”** icon.
- Inside the Text menu, you’ll see an option called **”Auto captions”**. Tap on it.
- A new window will pop up. Under the “Sound source” option, ensure “From video” is selected. You can also select your language here to improve accuracy.
- Tap the **”Start”** button.
CapCut’s AI will now analyze the audio in your video. This may take a few seconds to a minute, depending on the length of your clip. When it’s finished, you’ll see a new text track on your timeline, perfectly synced with the words being spoken.
Step 3: Edit and Correct Any Mistakes
CapCut’s AI is incredibly accurate, but it’s not perfect. It might mishear a name, a technical term, or a mumbled word.
- To edit the text, simply tap on the caption track on the timeline. This will bring up all the caption segments.
- Select the caption segment you want to fix and tap “Batch edit” to easily correct any spelling or punctuation mistakes.
Step 4: Style Your Captions for Maximum Impact
This is the most important step for creating a viral look. A boring caption is a missed opportunity.
- With the caption track selected, tap on the **”Style”** icon in the bottom menu.
- Here you can customize everything:
- Font: Choose a bold, easy-to-read font. “The Bold Font” or “Anton” are popular choices.
- Style (Templates): This is the fast track. The “Style” tab offers pre-made text designs. The yellow text with a black outline is a classic viral style.
- Effects & Animation: This is where you add the magic. Under the “Animation” tab, select “Caption.” Here you’ll find effects like “Bounce Out” or “Spring” that make each word pop onto the screen as it’s spoken. This dynamic animation is key to an engaging video.
Step 5: Export Your Video
Once you are happy with the text and styling, simply export your video. The captions will be permanently burned into your final video file, ready to be uploaded to TikTok, Instagram Reels, or YouTube Shorts. For more advanced editing techniques, you can explore our full **CapCut review**.
Final Verdict: The Easiest Way to Boost Your Video Engagement
Learning **how to use CapCut Auto Captions** is one of the most valuable skills a modern content creator can possess. It’s a simple, free feature that dramatically increases the professionalism and reach of your videos.
By following this guide, you can move beyond basic subtitles and start creating dynamic, styled, and engaging captions that will make viewers stop scrolling and pay attention to your message.